Here’s a treat - one of my favourite recipes ever. For culture and cuisine as rich as Malabar, and most of their recipes requiring intense labour and complicated, there also prevail some simple everyday recipes that are really easy to make, yet tasting different in its own way. The style of cuisine and can tell you a great deal about the history of people of the area. Even within the same cuisine, a dish will taste different when they are prepared by different cooks and households. I so believe the difference lies in their attitude towards food they prepare. For me, I prepare sweets and desserts with so much of passion, love and attention and they come out good every time I make them. On the other hand, I make spicy food mostly for survival and I had faced disastrous results many a time. This is what exactly happened with this fish curry of my mom. I have been trying to recreate my mom’s fish curry ever since I started cooking and it never even reached anywhere closer to hers and got worser and worser. Annoyed at this persistent failure, I stopped trying her recipe, went on with few other recipes on net and stuck to them. That is when I decided, I have to watch her cooking and weigh the ingredients, and yes, I did that.

Last time, when I went to visit my family back in Abu dhabi, I also took my digital kitchen scale along, so that I could get the accurate measurement of my mom’s recipes. I was tired of trying her recipes with the approximate measurements she handed over to me long back and me struggling to perfect it. There was no other choice than standing by her side and weighing each and every ingredient she added to her dishes, that includes spices as well. And one such recipe that I jotted down is this awesome fish curry. It’s very simple and really tasty if you get some fresh fish in hand. I mostly use frozen fish as it is difficult to get hold of fresh fish always.
In this curry my mom uses raw mango, gamboges or even tamarind as souring agent. It is purely personal choice. As tamarind causes acidity for my dad, she prefers gamboge and raw mango. Gamboge is soaked in hot water to soften it and release its juice while cooking. Back home, my mother in law uses fresh gamboge in her cooking. She picks them fresh from the plant that grows in our kitchen garden. They are pale green and spherical in shape that resembles pumpkin but just the size of a British lime. They turn yellow when ripe and falls off the tree. They are either used fresh but most of them are cleaned, cut into sections and dried for longer shelf life. They are black once dried and are mostly used in fish and prawn curries. Also known as Malabar Tamarind. This curry is my mom’s version and you can find the same curry with slight variation through out Kannur.

This post goes to Kerala Kitchen a wonderful hub of Kerala Cuisine founded by Rose of Magpies recipes. This month event is hosted by Sarah of Spoonful of Delight.
On another note, Biny Anoop has shared a wonder award for Innovative Blogger and to tell you Biny, I am so touched. Thank you for all the kind words and appreciation.

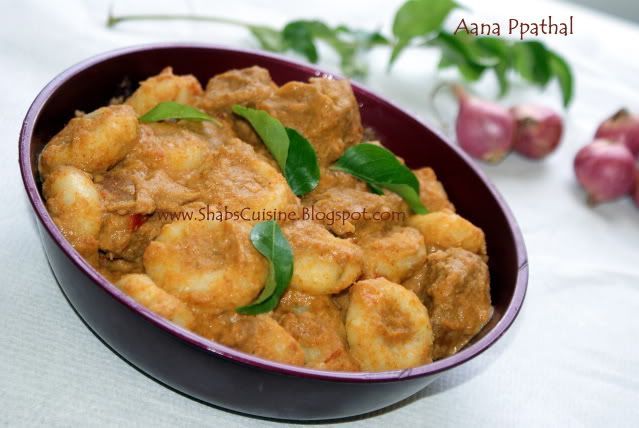
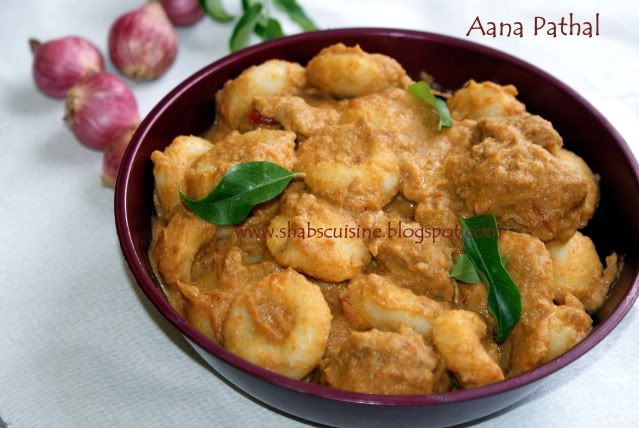
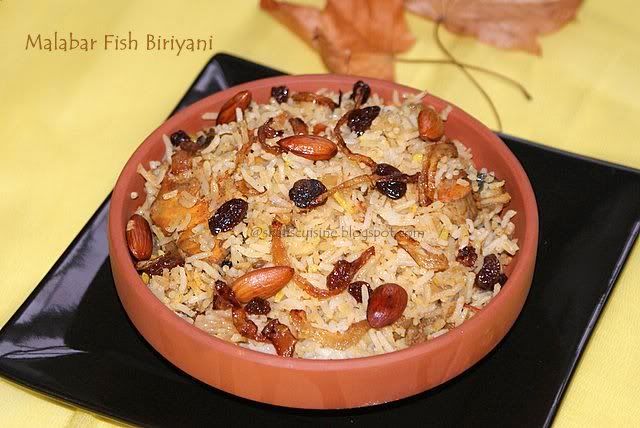
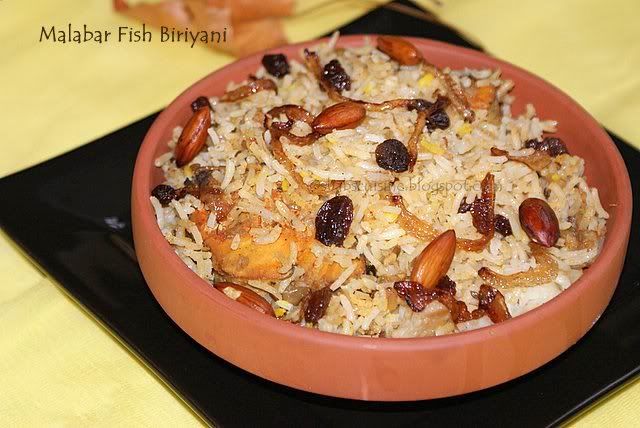
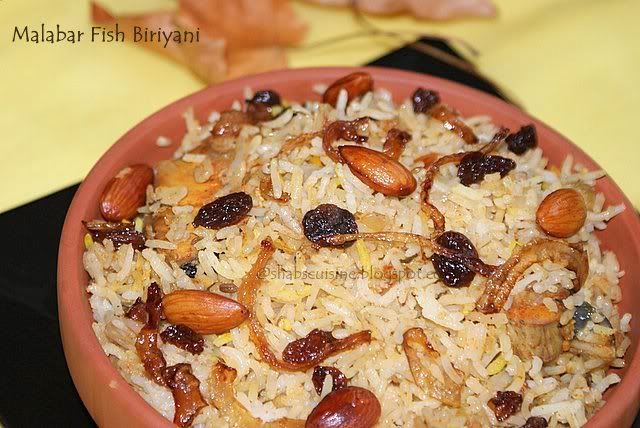
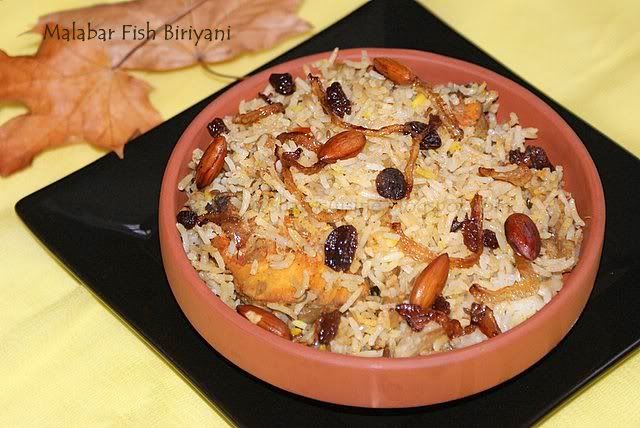
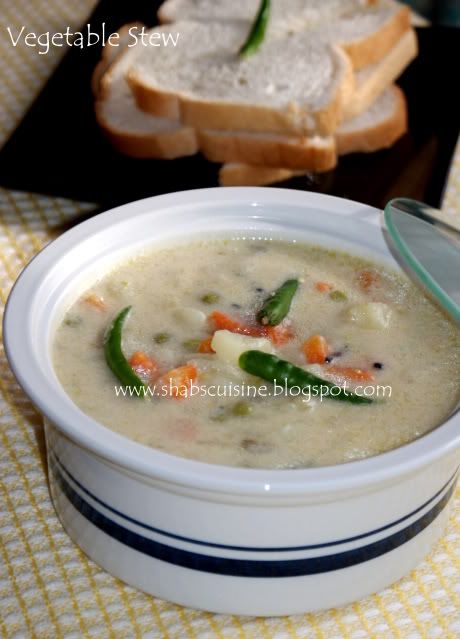
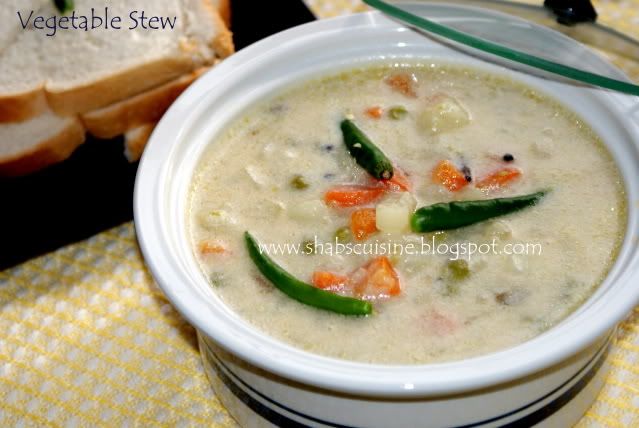
Malabar Style (Kannur) Fish Curry
Cooking Time:30 minutes
Serves 4
Ingredients:
275g – 350g Any cleaned fish like King fish, sardines, mackerel, salmon etc
1 medium size, ½ a cup, 90g onions, finely chopped
150g, 2 small ones or 1 large, slightly more than ¾ cup tomatoes, finely chopped
5-15g, 3 small sections of Gamboge (Kudampuli); depending on the sourness of the fruit.
3 large Garlic cloves finely chopped
2-4 green chillies
2-3 twig curry leaves
1 ½ - 2 teaspoon salt
½ teaspoon Fennel seeds (Sunf, perumjeerakam)
1 teaspoon fenugreek seeds
10g, 2-2 ½ heaped teaspoon mild chilli powder
3 level teaspoon Coriander powder
¼ teaspoon turmeric powder
2-3 Tablespoons coconut oil.
½ cup hot water to soak gamboges*
1 ½ cup rice water (Fresh Kanji Vellam) **
Preparations:
1.Wash and soak the gamboge in ½ a cup of hot water for 10-15 minutes to soften them.
2. In an earthen pot (Man-chatti) or a non-stick pan, heat coconut oil. Add fenugreek seeds and just as they start to change colour, add fennel seeds and let them leave aroma, about 10 seconds. (Keep the heat low-medium and do not let the fenugreek or fennel seeds charred as it will impart a bitter taste to the curry).
3. Add garlic and stir for few seconds until they are soft and starts to take colour. At this point, add chopped onion, slit green chillies, chopped tomatoes, curry leaves and salt. Cover and cook for around 7-10 minutes stirring occasionally to avoid the mixture sticking to the pot.
4. Once the tomatoes and onions go soft and mushy, add spices. Stir well.
5. Add gamboge along with the soaked water and rice water. Cover and bring to rolling boil. Boil for 2-3 minutes.
6. Lower the heat and add fish pieces. Cover and cook on low flame for about 10-15 minutes until fish is cooked through. Check for seasoning and adjust salt. Serve hot with rice or any rice pancakes like pathiri, Nool Puttu (String Hoppers), ottil pollichathu, porotta etc.
Notes:
*Gamboge is used as a souring agent for the curry and it can be substituted with a gooseberry size tamarind which is soaked in hot water, pressed and drained. Use the strained water and discard the residue. It can also be substituted by raw mango (50g-75g, 5 or 6 pieces) depending on the sourness of the mango. If using mango, add it along with other vegetables while sautéing.
** Rice water (Kanji vellam) is the water obtained after cooking rice. It is mainly used to thicken the gravy. If you don’t have them, you can substitute rice water by mixing 1-2 teaspoon of rice to the water and add them to the curry.
If the gamboges are of good quality little will go along way. But if they are less tart, you might need to add more.


.jpg)


.jpg)


.jpg)
.jpg)